Need to update images across multiple Hexus flows? The _Find and Replace Images _feature makes it super simple to swap out outdated visuals or maintain brand consistency throughout your tutorials. Let’s walk through how to use this powerful time-saving tool.

Quick Tour (Interactive)

1. Open the Hexus Application and Access the Search Images Tab

Search Img 1 Jpe Start by opening the Hexus application in your browser. Once you’re logged in, you’ll see your main dashboard with various tabs and options.
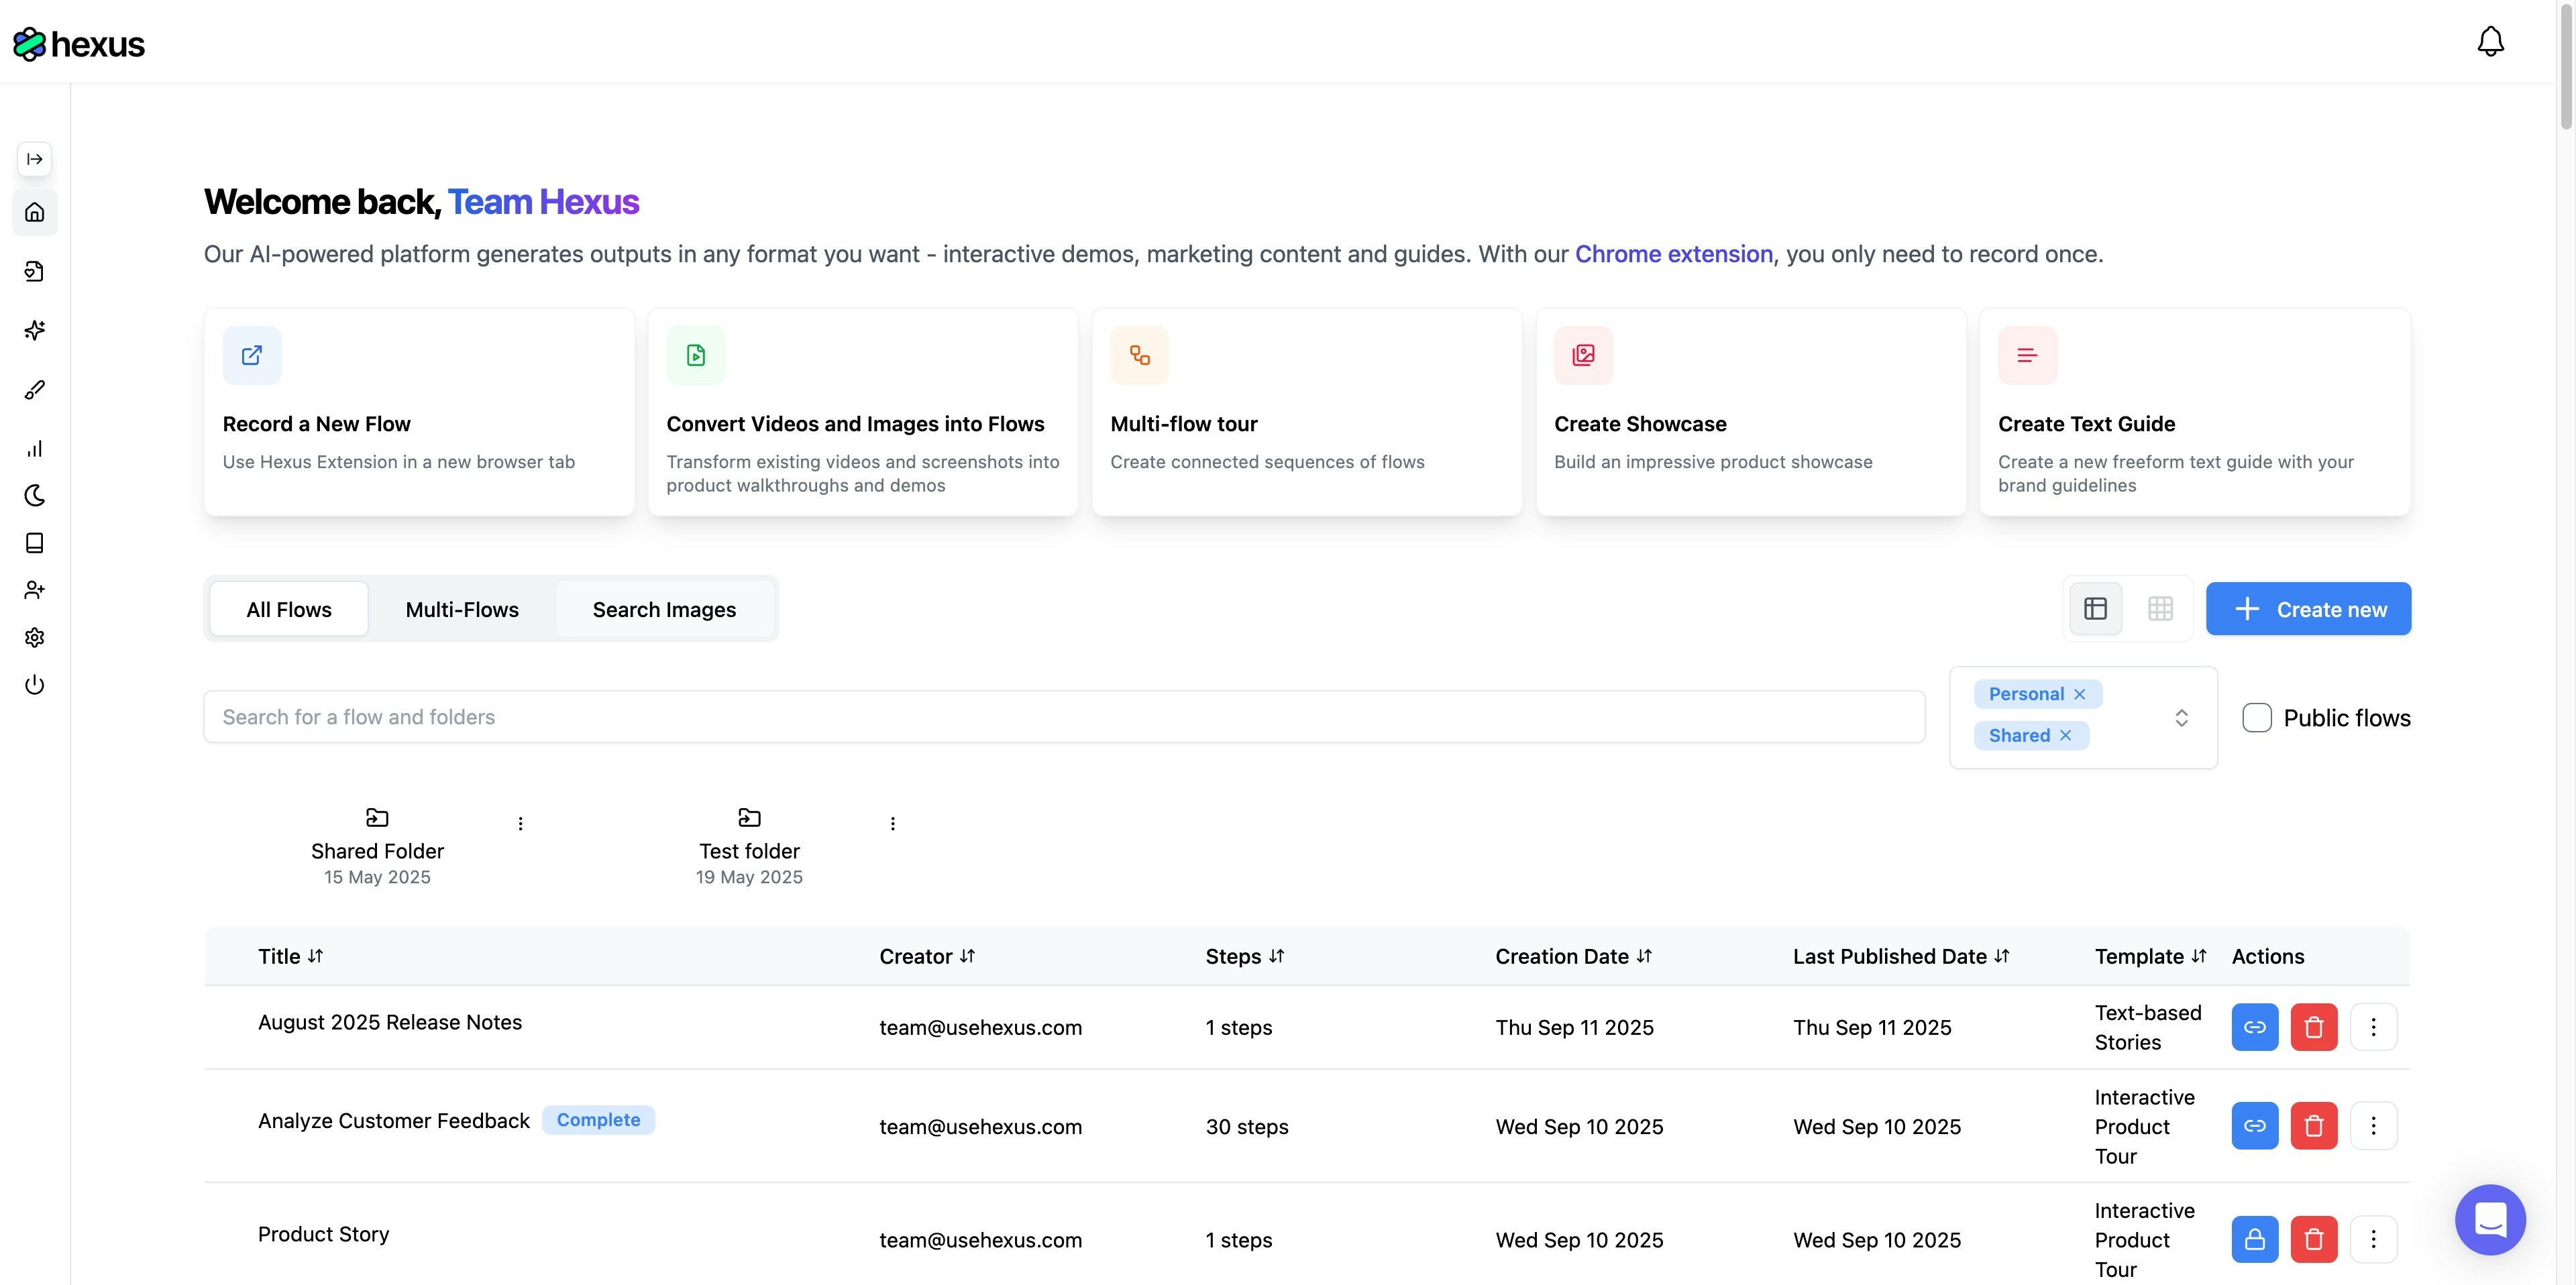
  1. Navigate to https://app.usehexus.com/ if you’re not already there
  2. Look for the ‘Search Images’ tab on your dashboard
  3. Click on the tab to access the image replacement feature
This specialized tab is your command center for managing images across all your Hexus flows. It’s designed to help you quickly locate and update visual content without manually editing each flow individually.

2. Search for Images Across Your Flows

Now it’s time to find the specific images you want to replace. The search functionality is quite powerful and can help you locate images based on various criteria.
  1. Click into the search field at the top of the Search Images interface
  2. Type your search query - this could be a URL like mail.google.com or any text associated with the images
  3. Press Enter or click the search button to execute your query
The search will scan through all your Hexus flows and return every instance where matching images appear. This comprehensive search ensures you don’t miss any outdated visuals that need updating.

3. Select Steps to Replace Images

Search Img 3 Jpe Once your search results appear, you’ll see all the locations where the matching images exist. Here’s where you take control of what gets replaced.
  1. Review the search results showing all steps containing your target images
  2. Click the checkbox next to each step where you want to replace the image
  3. Use the select all option if you want to replace every instance
  4. Once you’ve made your selections, locate the ‘Replace Images’ button at the bottom of your screen
  5. Click the button to proceed to the replacement interface
For example, if you’re updating email dashboard views across multiple tutorials, you can select all those specific steps at once. This batch selection feature saves tremendous time compared to editing flows one by one.

4. Upload New Images and Apply Changes

Search Img 4 Jpe You’re now in the final phase where you’ll provide the new image and confirm the replacement across all selected locations.
  1. Click the upload button to browse for a new image from your computer
  2. Alternatively, choose from previously uploaded images in your Hexus assets
  3. Preview how the new image will look in the selected steps
  4. Click Save when you’re satisfied with your selection
  5. The system will process the replacement across all selected flows and steps
After saving, don’t forget the crucial final step: Publish your flows to make the changes live. The new images will instantly replace the old ones across all the locations you selected, ensuring your content stays current and professional.

Quick Tips for Success

  • Use specific search terms to narrow down results and find exactly what you need
  • Double-check your selections before clicking Replace Images to avoid unintended changes
  • Keep replacement images at similar dimensions to maintain layout consistency
  • Remember to publish flows after making changes - unpublished changes won’t be visible to viewers
And that’s it! You’ve successfully updated images across multiple Hexus flows in just a few minutes. This feature is particularly useful when rebranding, updating UI screenshots after software changes, or maintaining visual consistency across your tutorial library. If you need any assistance, reach out to team@hexus.ai or via the in-app chat - we’re here to help!