Available on Starter plans and above
Navigate to Your Hexus Flow and Access the AI Image Editor
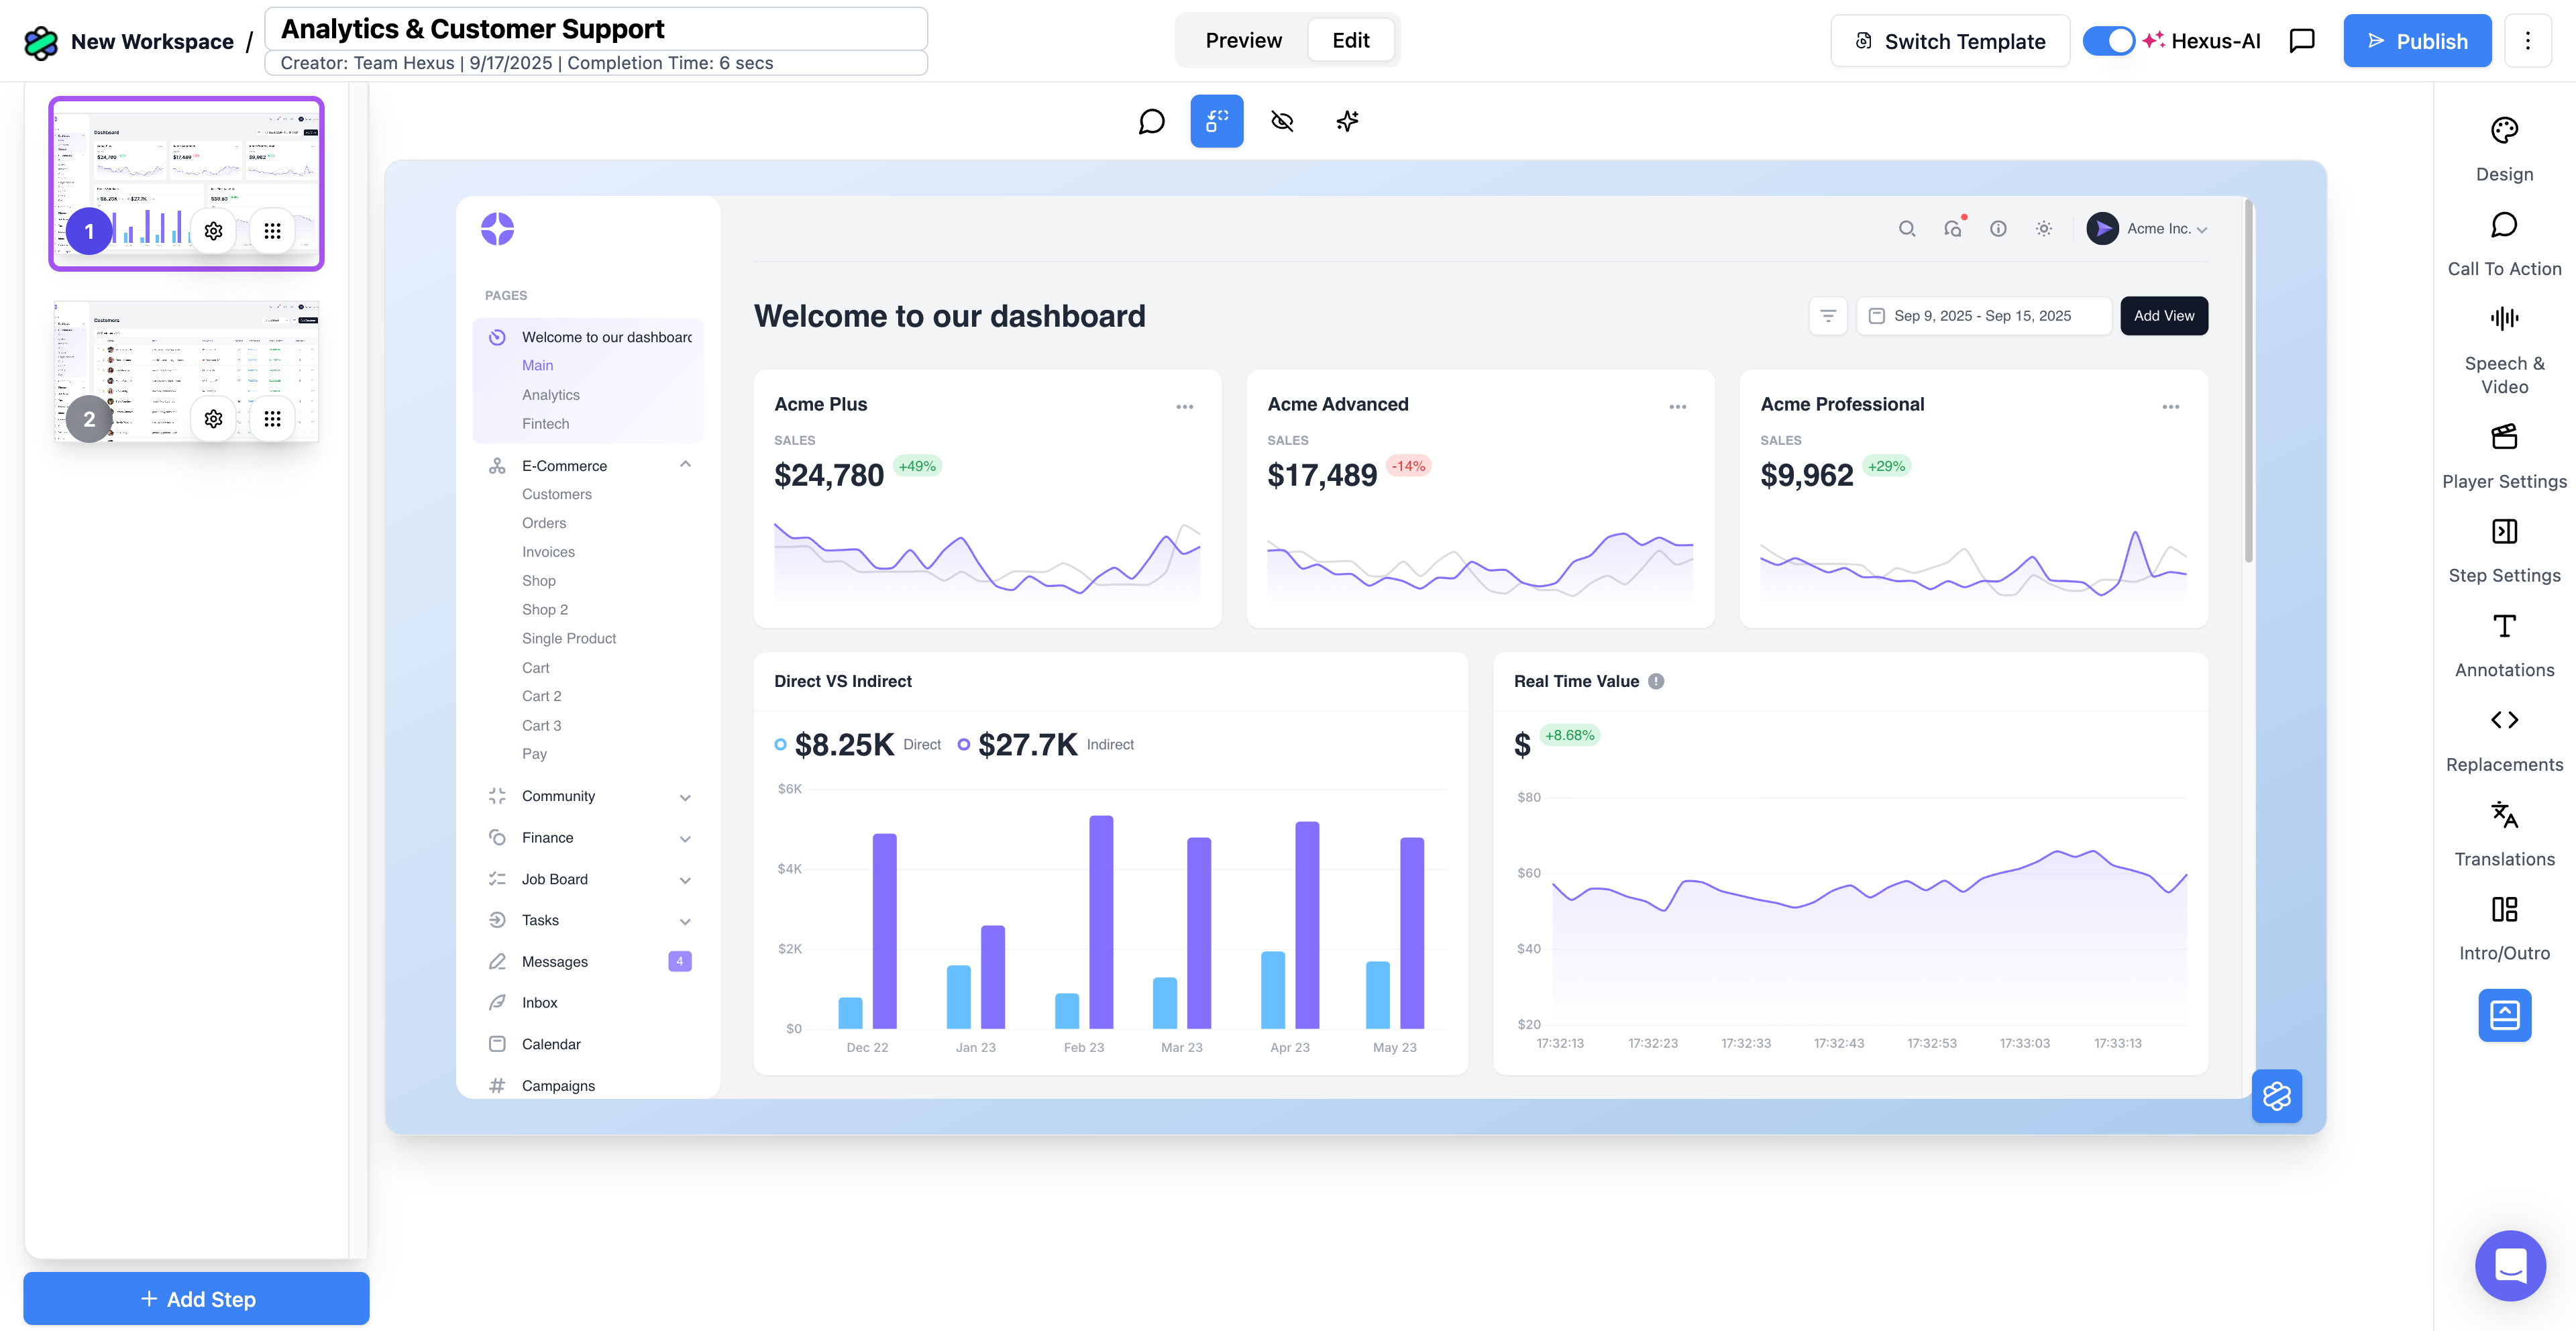
First, you’ll need to open the Hexus flow containing the image you want to edit. Once you’re in the flow editor, look for the AI Image Editor icon in the edit tab.
- Open your existing Hexus flow or create a new one
- Navigate to the step containing the image you want to edit
- Make sure you’re in the Edit tab
- Locate and click the AI Image Editor icon above the selected step
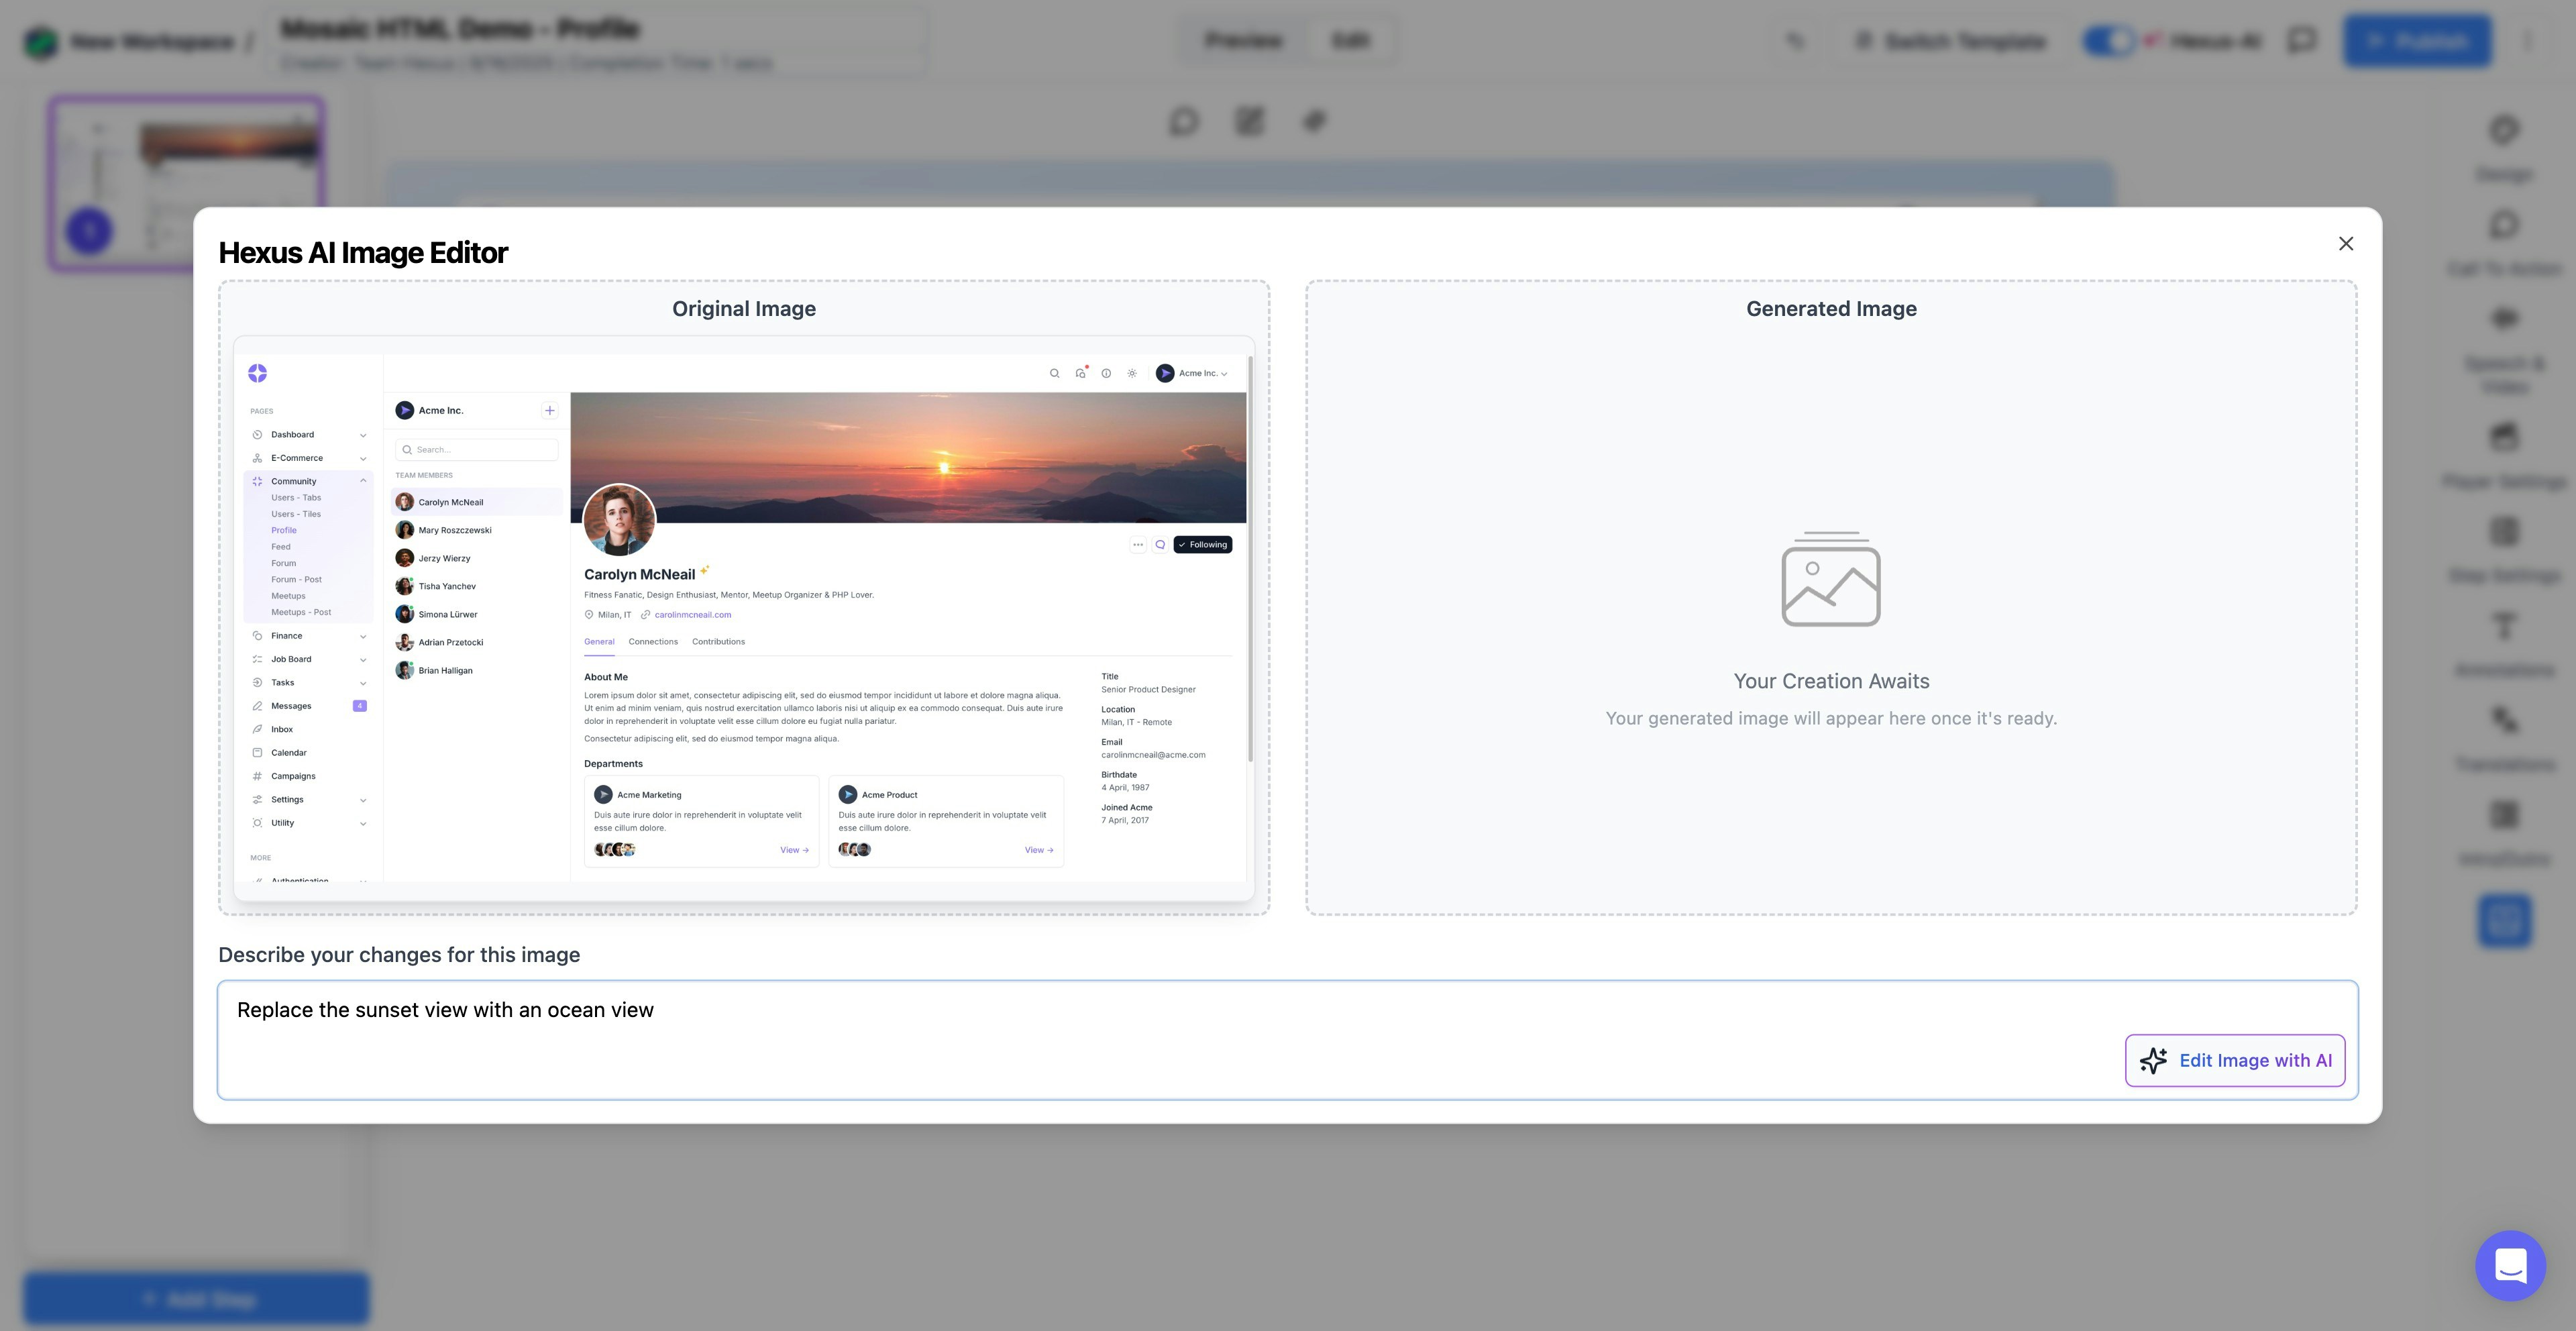
Enter Your AI Editing Prompt
This is where the real transformation happens. You can describe changes just like you’re talking to a designer.
- Type a clear, descriptive prompt in the text field
- Be specific about what you want to change (e.g., “Replace the sunset view with an ocean view” or “Make the background blurry”)
- Include details about colors, lighting, or style if needed
- Click the Edit Image with AI button to process your request
Review the AI-Generated Edits
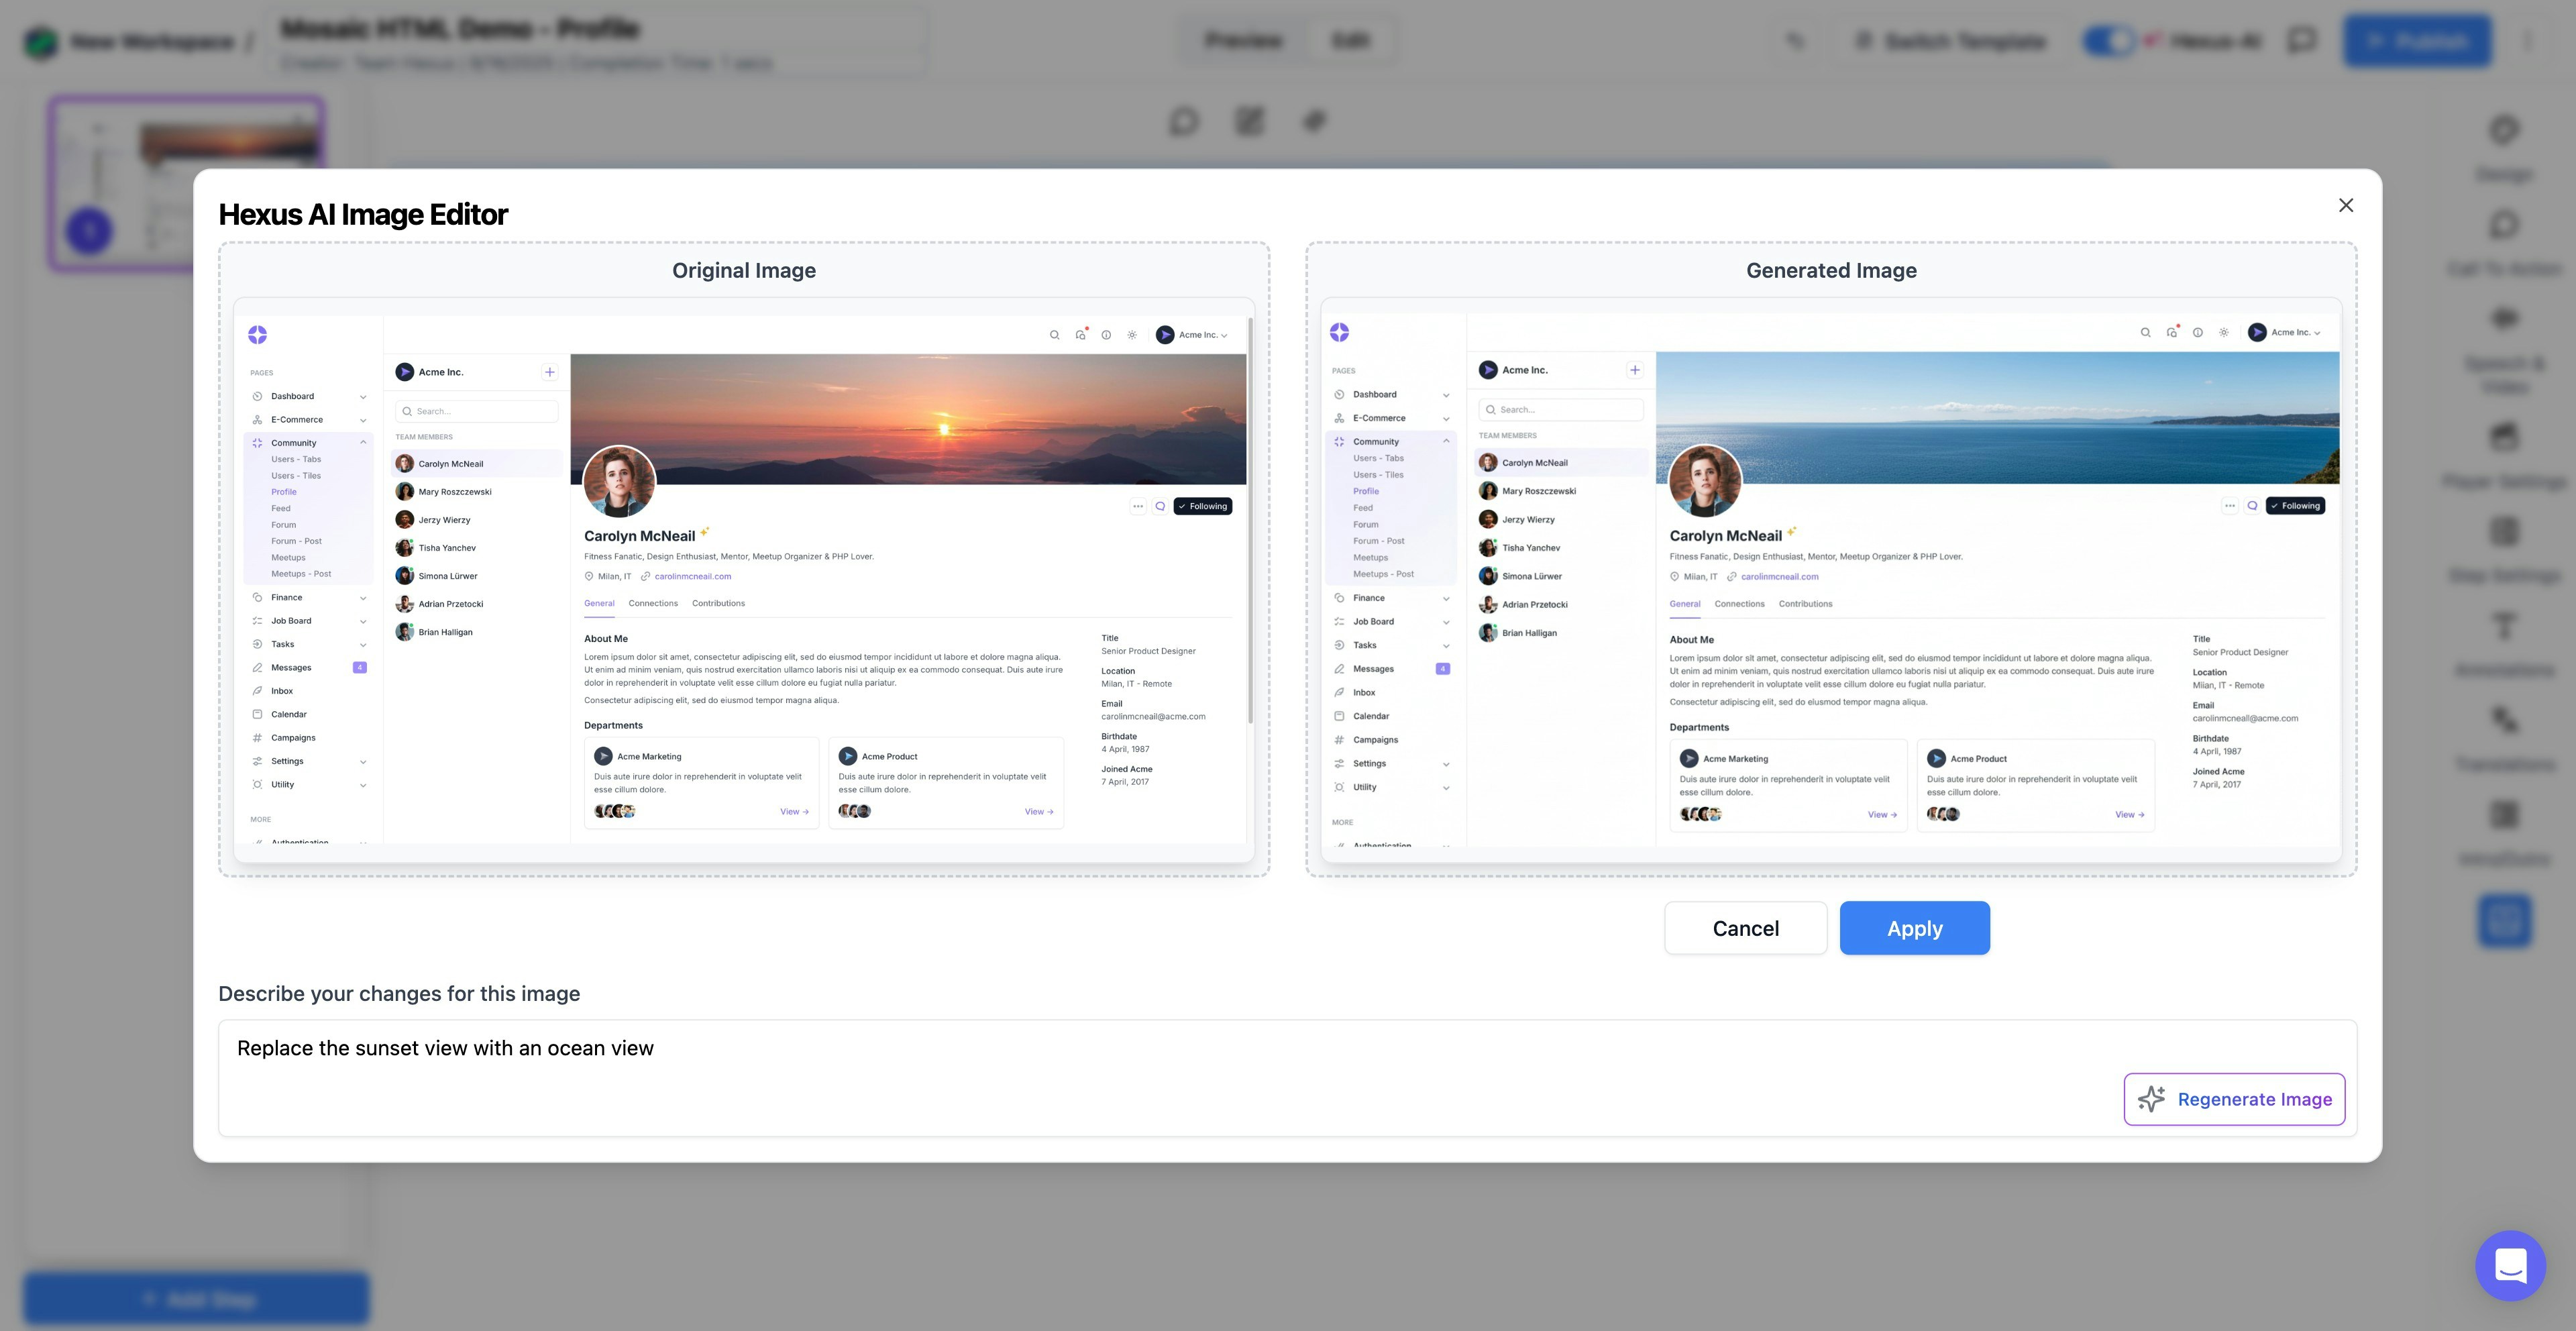
Once the AI processes your request, you’ll see the edited version in the preview window. This is your chance to ensure the changes match what you envisioned.
- Compare the edited image with your original vision
- Check that important elements are preserved correctly
- Verify the overall quality and style meets your standards
- Consider if any additional adjustments might improve the result
Applying Your Edits
Happy with the results? Great! Now it’s time to finalize your changes. You have two options here, and it’s important your customers understand both:
To Apply the Edits:
- Click the ‘Apply’ button to replace your original image
- The AI-edited version will immediately replace the original in your flow
- The change is saved automatically to your Hexus flow
- You can continue editing other elements or move to the next step
Once you click Apply, the original image is replaced in your current flow step. If you need to preserve the original, consider duplicating the step first or saving a backup of your flow.
Success! Your AI-Edited Image is Live
Congratulations! You’ve successfully edited your image with Hexus AI. The edited image is now part of the flow and will appear to all viewers on publishing. You can use this feature to:- Update product screenshots with new branding
- Adjust backgrounds to match brand colors
- Remove distracting elements from demo images
- Enhance image quality and professional appearance
- Create variations of the same image for different audiences

